

How To Remove Recently Added From Music App
Windows 10 comes with a completely reworked Start menu, which combines Live Tiles introduced in Windows 8 with classic app shortcuts. It has an adaptive design and can be used on displays with various sizes and resolutions. In this article, we'll see how to remove the recently added app list from the Start menu in Windows 10.
In Windows 10, the Start menu is completely different. It has nothing common with the its previous implementations. It is a Universal Windows Platform (UWP) app which combines the list of installed apps with Live Tiles and shortcuts pinned to the right pane.
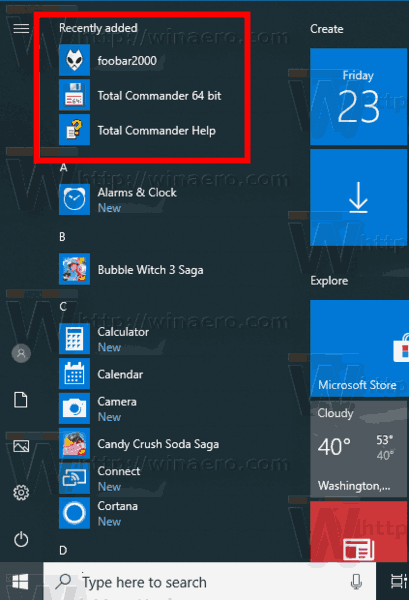
The Start menu features the 'Recently added apps' list which shows the classic and Store apps you've recently installed. See the following screenshot.
Since Windows 10 build 14942, there is a special option in the Settings app which allows you to hide the Recently Added Apps list in the Start menu. This makes the Start menu more compact and doesn't expose which apps you've installed recently. Plenty of users may find disabling this list useful.
To remove Recently Added Apps from the Start Menu in Windows 10, do the following.
- Open the Settings app.
- Navigate toPersonalization - Start.
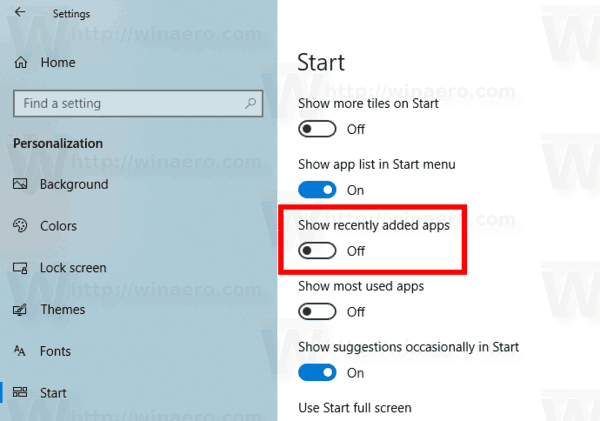
- Scroll down in the right area till you see the toggle option Show recently added apps.
- Disable theShow recently added apps option.
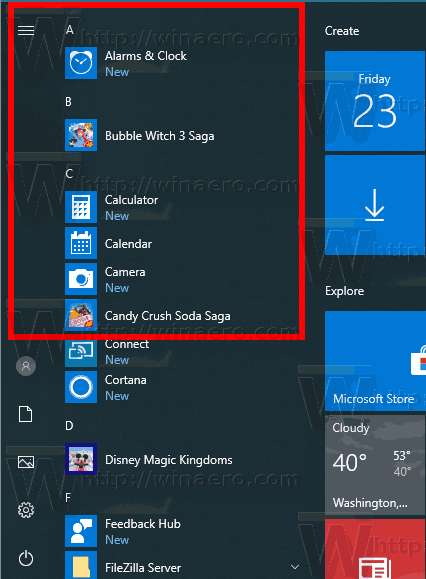
This will remove the recently added apps list from the Start menu.
Tip: Instead of removing the app list, you might want to remove certain apps from it. Just right-click the desired item in the app list under Recently added apps and select More - Remove from this list in the context menu.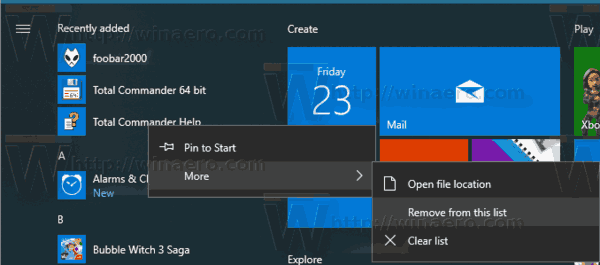
Disable the Recently Added Apps list with Group Policy
Starting with Windows 10 Build 17083, you can disable the Recently added apps list with a Group policy. If you are running Windows 10 Pro, Enterprise, or Education edition, you can use the Local Group Policy Editor app to configure the feature with a GUI. Otherwise, you can apply a Registry tweak. Let's review both methods.
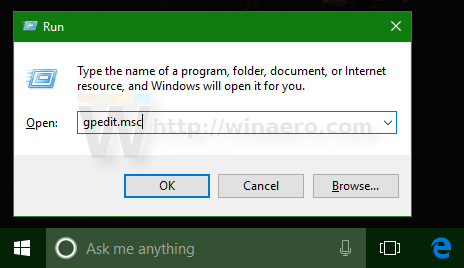
- Press Win + R keys together on your keyboard and type:
gpedit.msc
Press Enter.
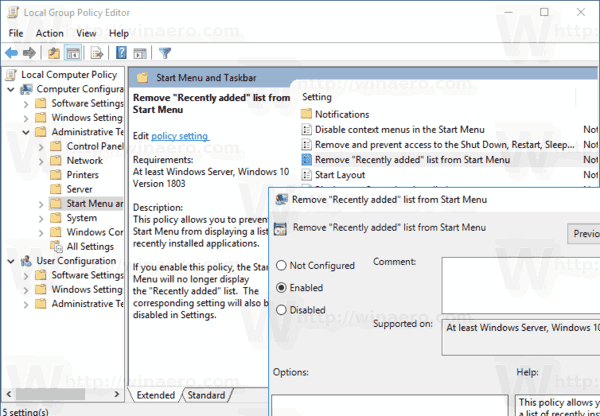
- Group Policy Editor will open. Go to Computer Configuration \ Administrative Templates \ Start Menu and Taskbar. Set the policy option Remove "Recently added" list from Start Menu toEnabled.
Finally, if your Windows 10 edition doesn't include the Local Group Policy Editor app, apply a Registry tweak as follows.
Disable the Recently Added Apps list with a Registry tweak
- Open Registry Editor.
- Go to the following Registry key:
HKEY_LOCAL_MACHINE\SOFTWARE\Policies\Microsoft\Windows\Explorer
Tip: See how to jump to the desired Registry key with one click.
If you do not have such a key, then just create it.
- Here, create a new 32-bit DWORD value HideRecentlyAddedApps. Note: Even if you are running 64-bit Windows, you still need to use a 32-bit DWORD as the value type.
Set it to 1 to hide the Recently added apps group from the Start menu.
- To restore defaults, delete this value.
- To make the changes done by the Registry tweak take effect, restart Windows 10.
To save your time, you might want to download the ready-to-use Registry files.
Download Registry Files
That's it.
Support us
Winaero greatly relies on your support. You can help the site keep bringing you interesting and useful content and software by using these options:
If you like this article, please share it using the buttons below. It won't take a lot from you, but it will help us grow. Thanks for your support!
How To Remove Recently Added From Music App
Source: https://winaero.com/remove-recently-added-apps-start-menu-windows-10/
Posted by: mendenhallrearandeas.blogspot.com
0 Response to "How To Remove Recently Added From Music App"
Post a Comment